Skip to navigation Skip to content
Toika Loom Studio
  • My Account
  • Home
  • Floor Looms
  • Electronic Floor Looms
  • Go to Weaving Yarn Website
  • Knowledge Base
    • All Knowledge Base Articles
    • FAQs
  • Home
  • Floor Looms
  • Electronic Floor Looms
  • Go to Weaving Yarn Website
  • Knowledge Base
    • All Knowledge Base Articles
    • FAQs
  • 0 items
Home / Knowledge Base / How to drop the worm gear to release the warp beam

Assembly Instructions

12
  • Tiina instructions
  • Getting started with the Anni loom
  • How to Assemble a Toika Eeva Computer Loom
  • Siru assembly video tutorial
  • Installing a second warp and back beam
  • Fitting Rubber Stoppers to an Underslung Beater Loom
  • Fitting the Underslung Fly Shuttle Device to a Toika Liisa Loom
  • Upgrading to ES Computer Control
  • Siru Assembly Instructions
  • Laila Assembly Instructions
  • Liisa Assembly Instructions
  • Eeva Assembly Instructions

Warping

2
  • How to drop the worm gear to release the warp beam
  • How to warp a loom from back to front

Weaving

1
  • Toika ES Start Up Sequence

Heddles

2
  • Texsolv heddle sizes
  • How to use Texsolv heddles

Reeds

2
  • Cleaning your new Toika reed
  • Toika reed information insert

Catalogues

2
  • Toika ES Brochure
  • Toika Hand Looms and Equipment Catalogue

Maintenance

1
  • Toika ES Maintenance

Toika ES

4
  • How to configure your Toika ES in Fiberworks
  • Upgrading to ES Computer Control
  • Toika ES Maintenance
  • Toika ES Start Up Sequence
View Categories
  • Home
  • Knowledge Base
  • Tips and Techniques
  • Warping
  • How to drop the worm gear to release the warp beam

How to drop the worm gear to release the warp beam

1 min read

Applies to: All looms equipped the Toika cog wheel warp tension adjustment.

In order to turn the warp beam with the handwheel at the rear of the loom, you must first disengage the worm gear from the worm cog wheel.

Background #

The worm gear is mounted on a metal plate secured to the loom frame with bolts and wing nuts.

We’ve removed the wing nut and washer in this picture so that you can see the bolt and slot in the metal plate.

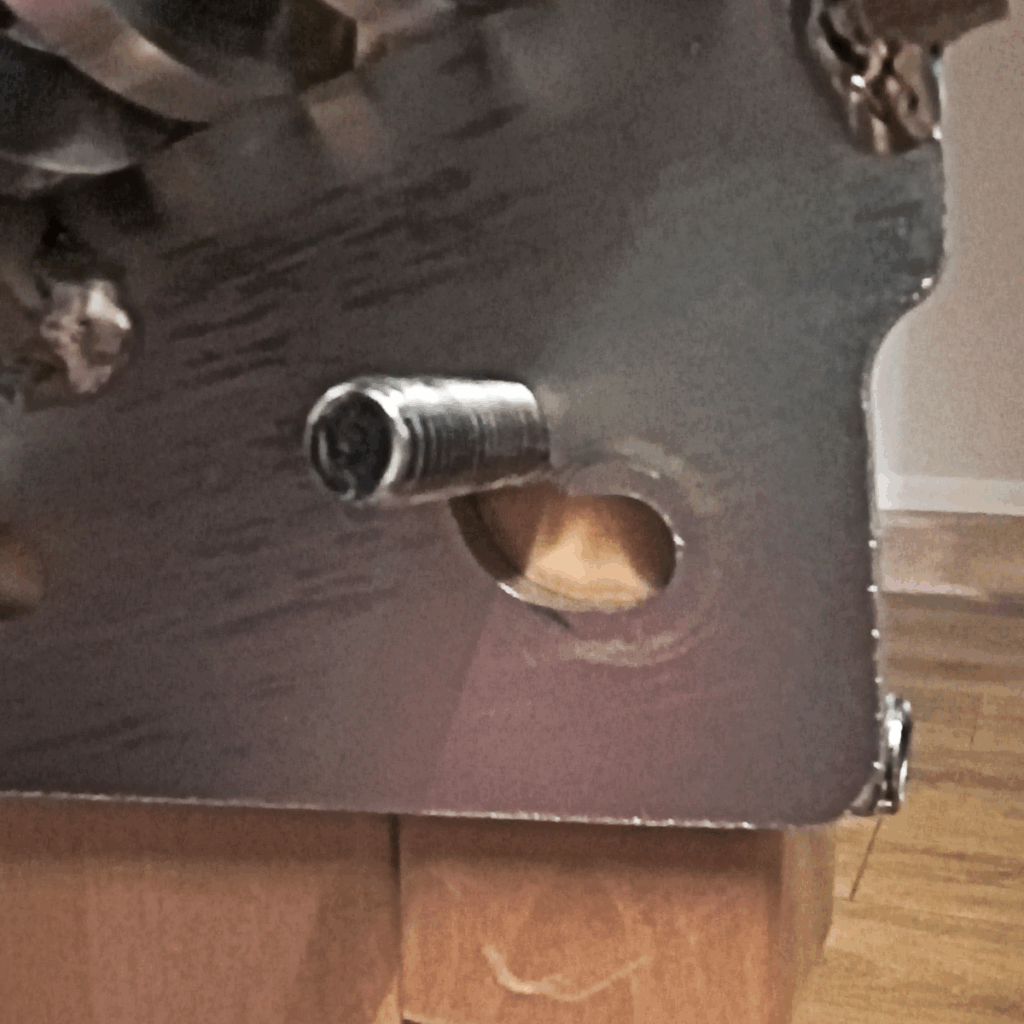
These two L-shaped slots allow the plate to be dropped down disengaging the worm gear. Once the worm gear is clear of the cog wheel, the warp beam can turn freely.

Step 1: Locate and loosen the wing nuts #

The worm gear mounting plate sits beneath the warp beam inside the loom frame. Here you can see that the worm gear is engaged with the teeth of the cog wheel.

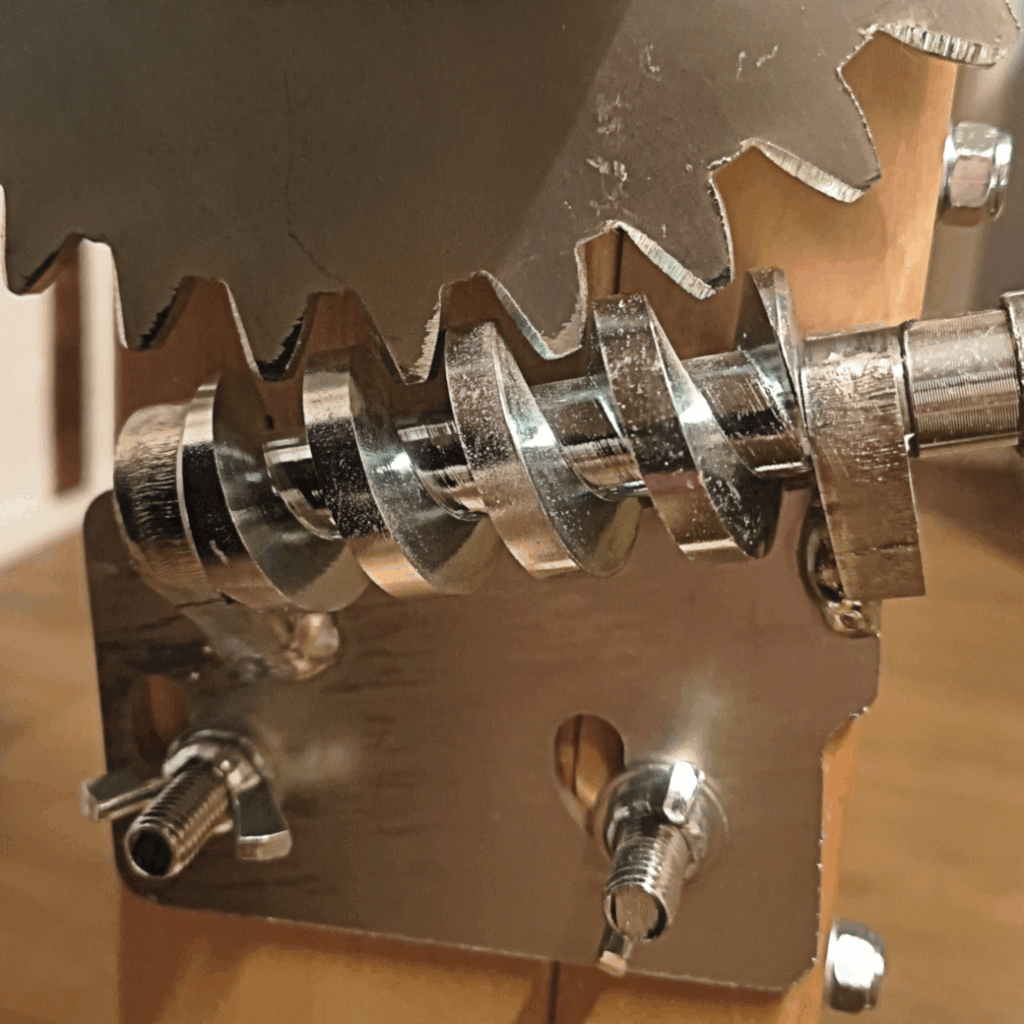
Loosen both wing nuts beneath the worm gear. Half a turn should be enough, don’t try to remove them.

Step 2: Drop the worm gear #

Slide the plate towards the front of the loom and it will drop a couple of centimetres.

The worm gear will disengage from the cog wheel.

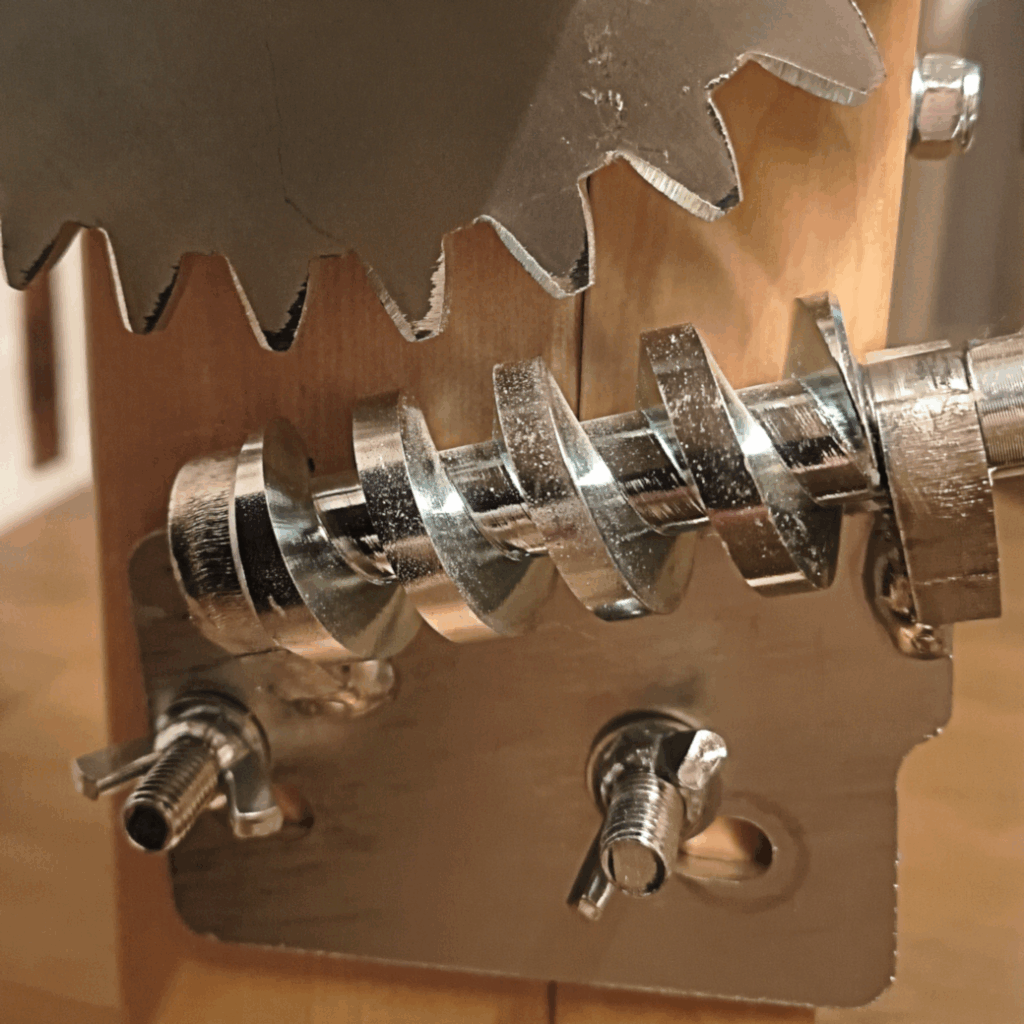
The warp beam can now turn freely. Use the handwheel to turn it while you wind the warp on.

Once you are finished, slide the plate up and towards the back of the loom to re-engage the worm gear. Tighten both of the wing nuts.

To keep the gear turning smoothly, you can apply a little petroleum jelly (e.g. Vaseline®) or silicone grease to the worm gear. Don’t use oil.

Updated on 15 May 2025
Eeva, Jaana, Liisa

What are your Feelings

  • Happy
  • Normal
  • Sad
Share This Article :
  • Facebook
  • X
  • LinkedIn
  • Pinterest
How to warp a loom from back to front
Table of Contents
  • Background
  • Step 1: Locate and loosen the wing nuts
  • Step 2: Drop the worm gear
Copyright © Toika Loom Studio 2025
  • My Account
  • Search
  • Quote Request List 0